How to: Configure Stripe payment provider
Step by step instructions to configure Stripe in Gizmo

Panagiotis Mantzouranis
Last Update 4 years ago
Prerequisites
In order to configure stripe payments in Gizmo, you will need the following:
- An active Stripe account
- A DNS host name or static ip that points to your Gizmo Server
Stripe setup
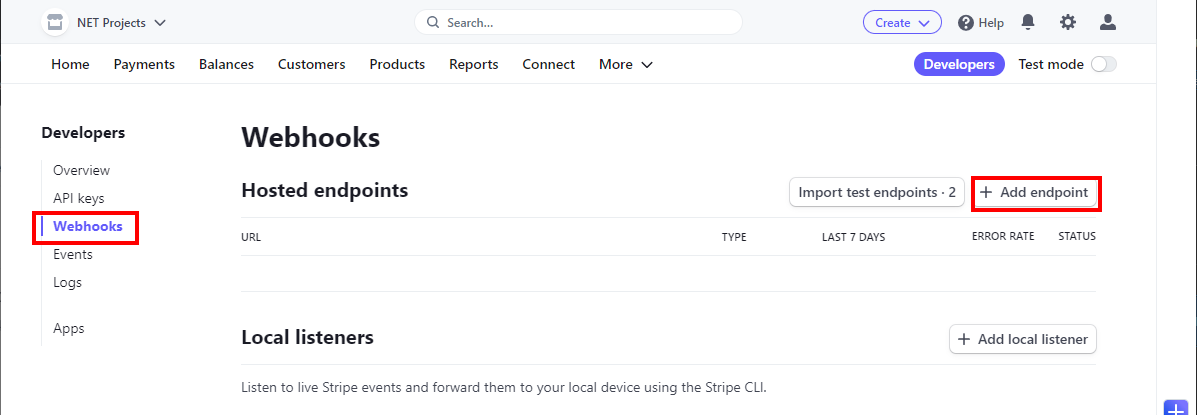
Login to Stripe Dashboard. Click on "Developers" on the top right corner

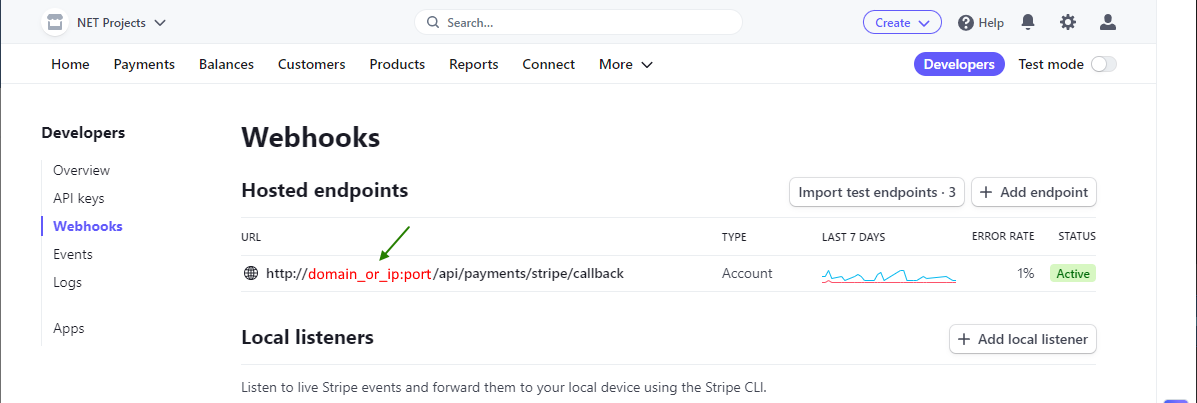
Click on "Webhooks" on the left side and then "+Add endpoint" on the right
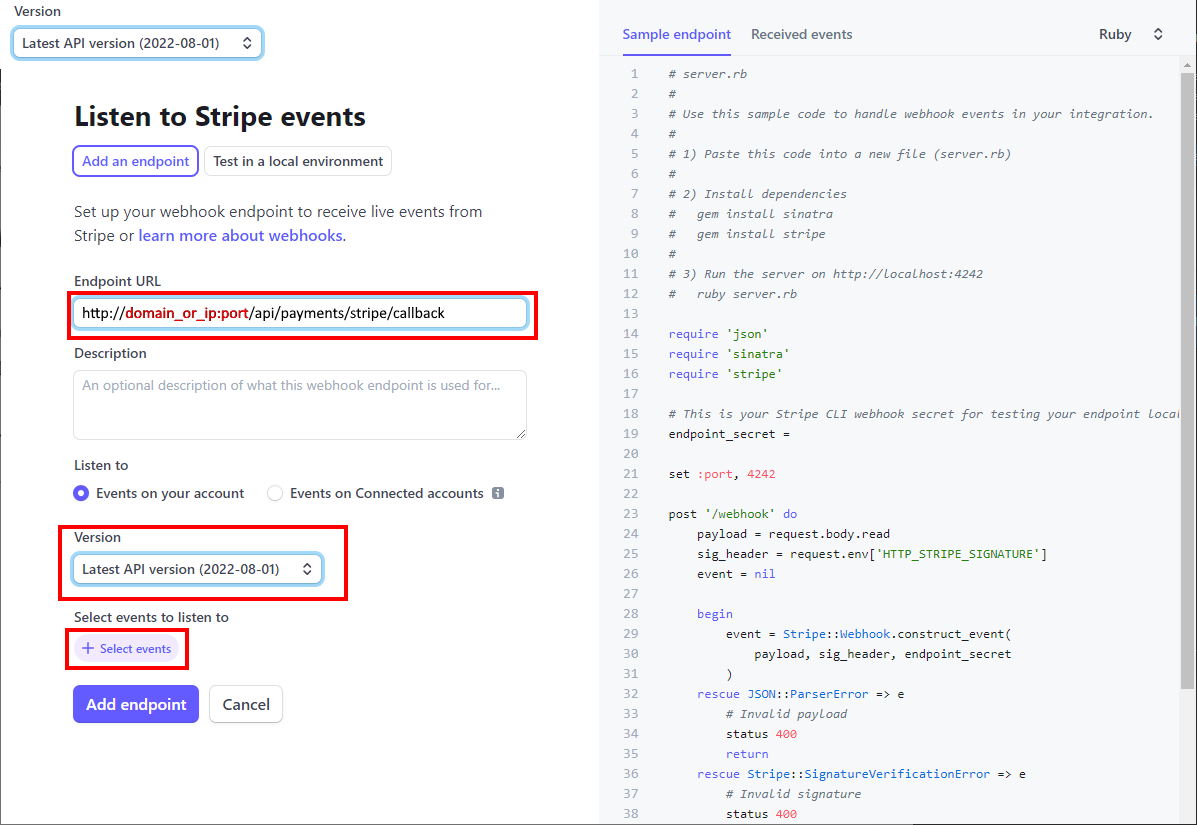
1. Endpoint URL
http:// Your domain name or internet ip : port /api/payments/stripe/callback
Example: http://cloud.gizmopowered.net:80/api/payments/stripe/callback
Domain name & port should resolve to your Gizmo server's web port
2. Version:
Select API version (2022-08-01)
3. Click on "Select Events"
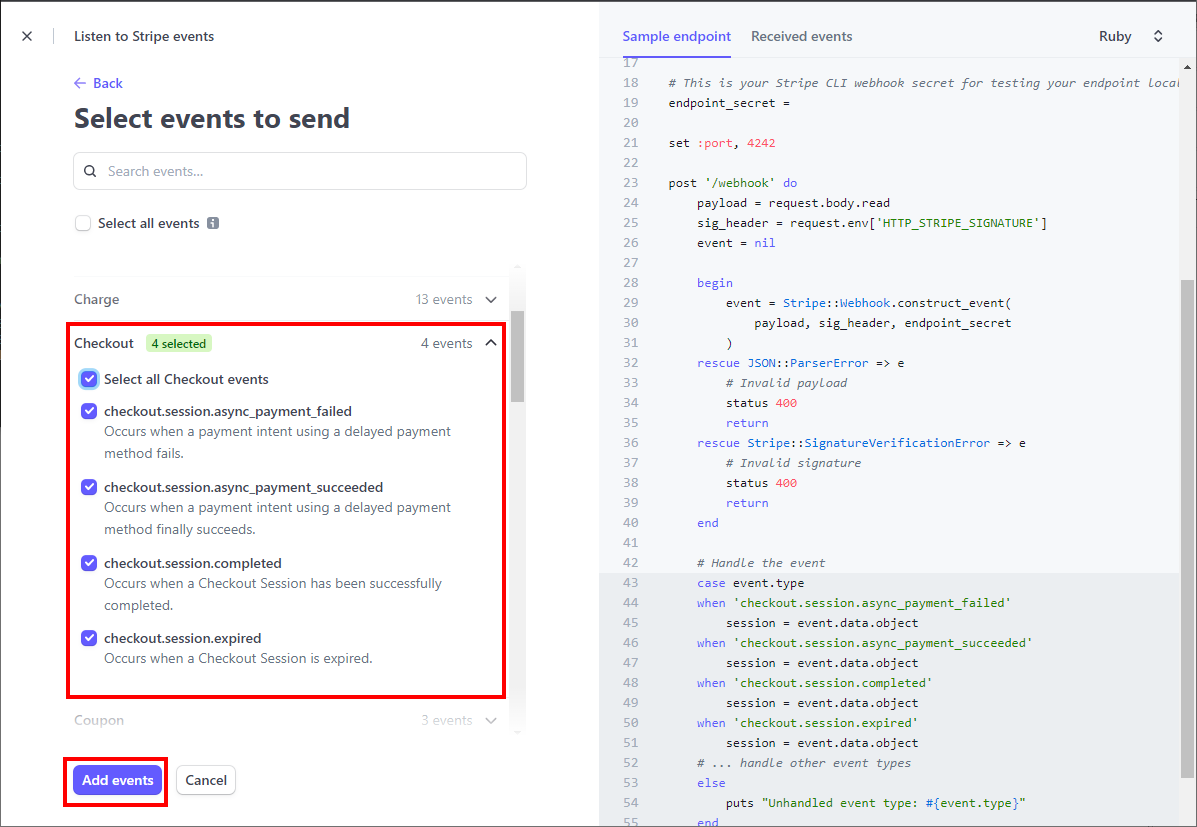
Scroll to "Checkout" events and select all 4. Click "Add events" at the bottom
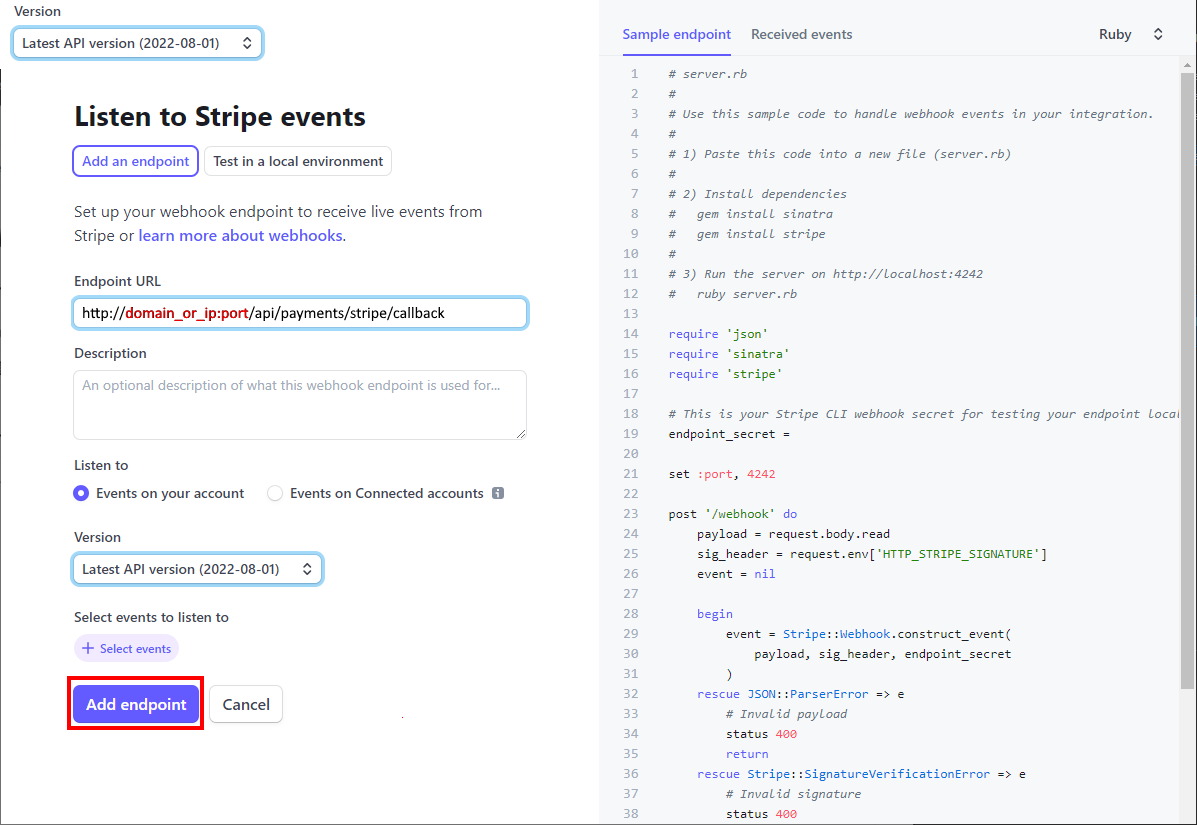
Back in the previous screen, click "Add endpoint" at the bottom
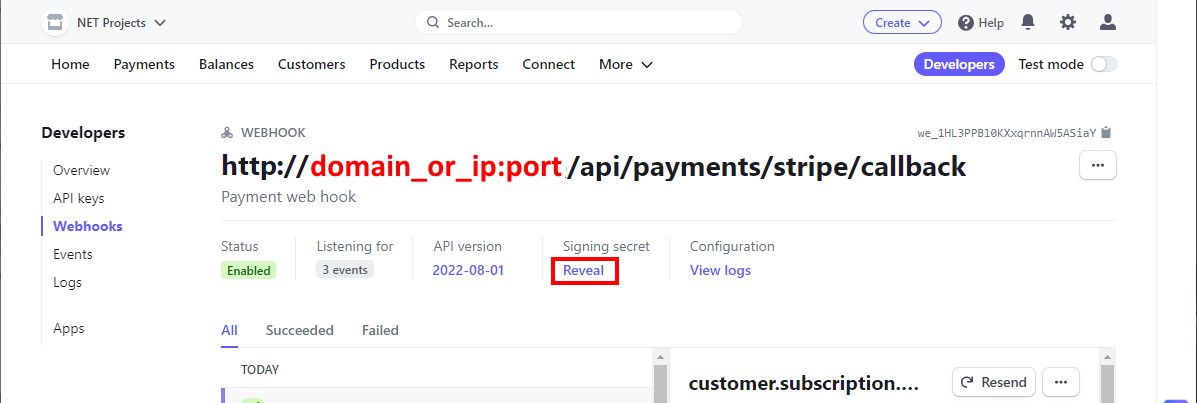
Back in Webhooks, you should now see your newly created entry. Click on the URL to open the details
Click the "Reveal" button to display the webhook secret key. Copy-paste it to your notepad for later use.
Key starts with: whsec_xxxxxxxxxxxxxxxxxxx
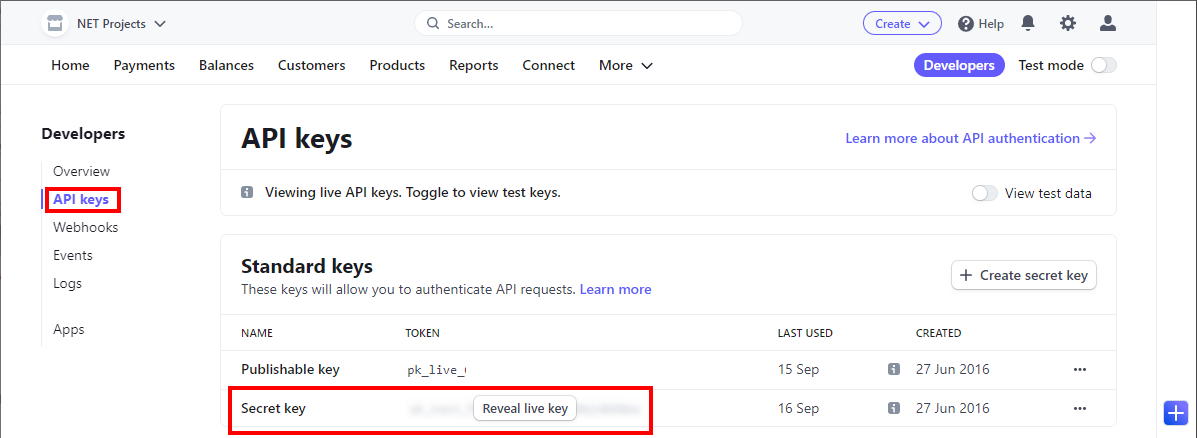
Click on "API keys" on the left. In "Standard keys" you should see 2 entries:
- Publishable key
- Secret key
Click on "Reveal live key" to display the key. Copy-Paste it to your notepad for later use.
API key starts with: sk_live_xxxxxxxxxxxxxxxxxxx
Now proceed to configure Gizmo Server
Gizmo Server setup
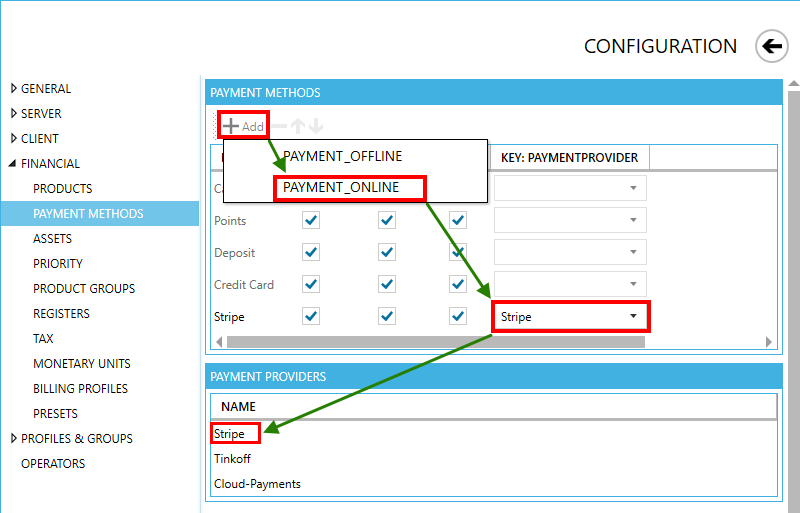
Open Server settings - Financial - Financial Methods
Click "Add" - "Online Payment method"
Select "Stripe" from drop down menu
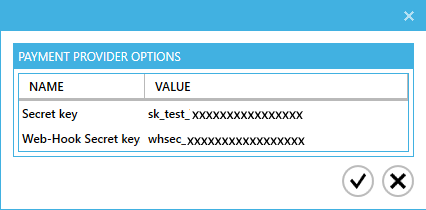
Double click "Stripe" to configure stripe keys
Configure your Secret and webhook secret keys you copied earlier from stripe.
Done! You are now ready to accept deposit payments from the client interface!