How To: Setup Gizmo Service

Panagiotis Mantzouranis
Last Update vor 5 Jahren
If you are moving from Smartlaunch 4.x or Gizmo v1, use Gizmo Importer Tool first
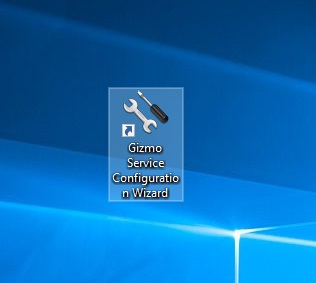
STEP 1: Run "Gizmo Service Configuration Wizard" desktop shortcut.
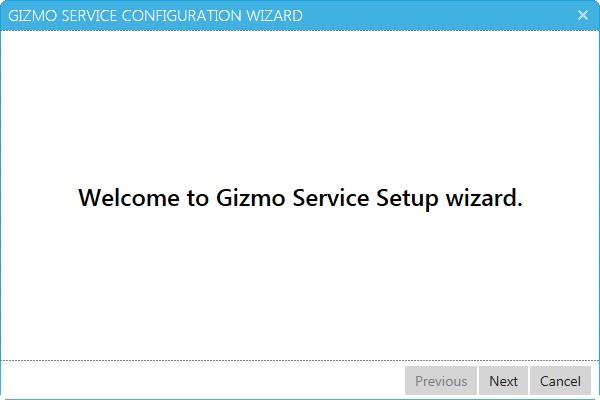
STEP 2: Click on "Configuration wizard"

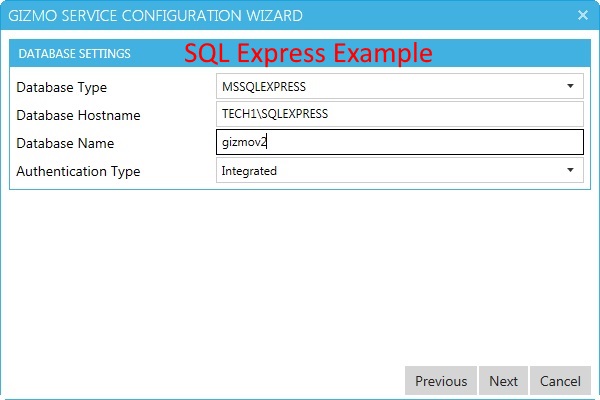
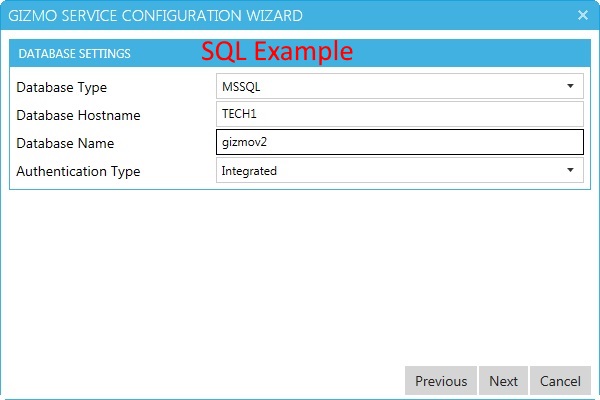
STEP 3: SQL DB type & connection details. The default settings are recommended. Do not create a Database after installing SQL Server, Gizmo will create the database automatically.
If you used the importer tool, or if you are migrating from another server enter previous database’s name
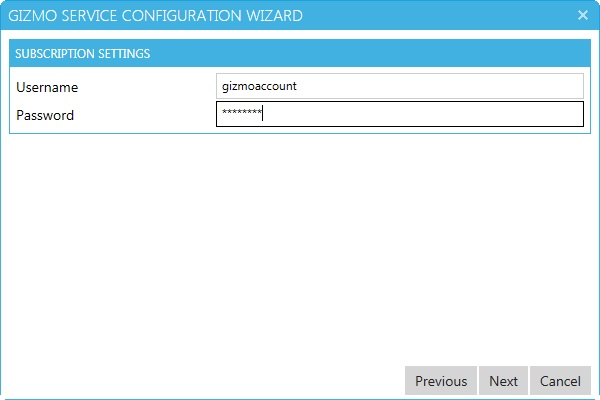
STEP 4: Enter your Gizmo account credentials. Visit http://www.gizmopowered.net/ to create an account
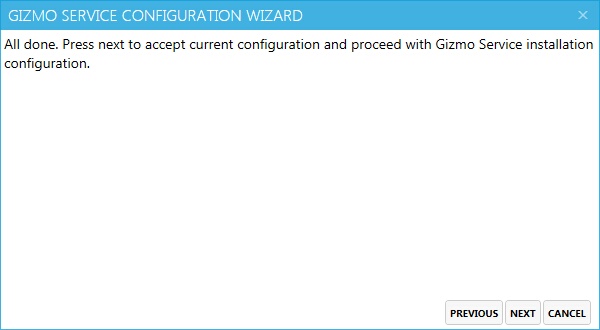
STEP 5: Click "Next" to commit settings and proceed to Service installation
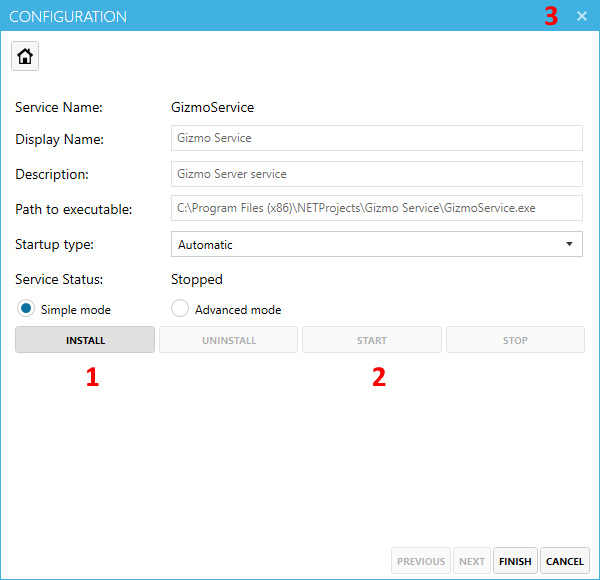
STEP 6: Service installation
- Gizmo Service can run as a Windows Service (recommended) or as a desktop application.
- To install as Windows Service:
1. Click "Install"
2. Click "Start"
3. Click Finish
As an application, you need to manually launch Gizmo Service from "Gizmo Server" desktop shortcut.
Done! You can now proceed to Gizmo Manager setup